
What is meant by Migrating web hosting service providers?
Migrating web hosting – The accessibility of your website is one of the key factors in the success of your business. A website that is on a stable, fast, and well-optimized host is more likely to enjoy uninterrupted traffic flow and better rankings in Google’s SERPs. Hence, choosing a suitable web hosting provider should be paramount when building your business site.
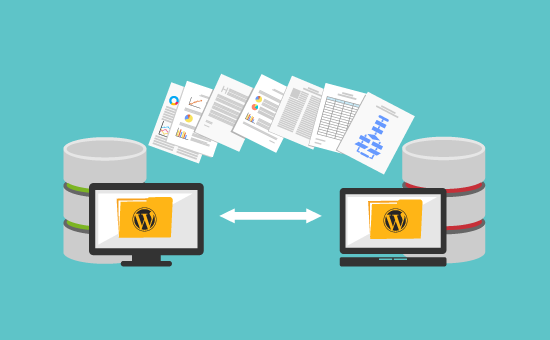
Migrating web hosting involves exporting your existing database and transferring it to your new provider. You download your database for local access on your computer when you export it. Different providers offer database access differently, but most people use the phpMyAdmin interface.
Migrating web hosting service providers – Numerous factors drive individuals or businesses to consider transitioning to a different web hosting company. Reasons could range from a simple lack of storage space or bandwidth to dissatisfaction with the current provider’s customer service.
While the prospect of changing web hosting companies may seem daunting, it doesn’t have to be overly complex.
Migrating web hosting – There are a few key considerations to bear in mind:
1. Cancel your old account:Once your new account is active and your website and email services are operational with the new hosting provider, you can proceed to cancel your old account. This step should be taken as the final action in the migration process.
2. DNS changes and propagation: After uploading your web files to the new hosting server and configuring email accounts, proceed to make the necessary Domain Name Server (DNS) changes. Obtain the new DNS from your new web hosting provider and replace the existing settings via your domain management panel (domain registrar).
Keep in mind that DNS propagation typically takes 24-48 hours, during which the old web host is responsible for website and email services.
3. Set up new (identical) email addresses: To ensure proper email reception, recreate the same email addresses, including aliases and forwarders.
4. Back up your existing website:Download your old account files, ideally in the same tree structure you plan to use for the upload. Pay attention to file permissions and use FTP for a straightforward process. Note that some free web hosting providers may not offer FTP access, especially if you’re using a free Flash/drag-and-drop website creation service like Weebly.com or WIX.com.
In such cases, you may need to recreate your web files, unless your new web hosting provider offers a free website creator.
5. Select an appropriate new web hosting provider: Considerations should include the type of operating system (Windows vs. Linux) based on your website’s technology requirements. For instance, if your website relies on ASP, MSSQL, MSACCESS, or other Microsoft-specific technologies, a Windows-platform web hosting plan would be necessary.
Additionally, assess bandwidth and disk space requirements.
6. Maintain your existing web hosting account: It’s advisable to keep your current web hosting account active until you’ve completed all the necessary transition steps, such as setting up a new account, transferring files, creating and configuring emails, and making DNS modifications.
This ensures uninterrupted operation of your website and domain email accounts during the Migrating web hosting transition.