Managing Databases in DirectAdmin: A Comprehensive Guide
Managing Databases in DirectAdmin – Before diving into database management, ensure you have access to DirectAdmin. You should have a DirectAdmin user account with the necessary privileges to manage databases. If you don’t already have DirectAdmin installed, you may need to contact your hosting provider or server administrator.
Accessing the Database Management Area
- Log In to DirectAdmin: Open your web browser and navigate to your DirectAdmin login page. Enter your username and password to access the control panel.
- Navigate to the Database Section: Once logged in, look for the “MySQL Management” section. This is where you’ll manage your databases, users, and permissions.
Creating a New Database
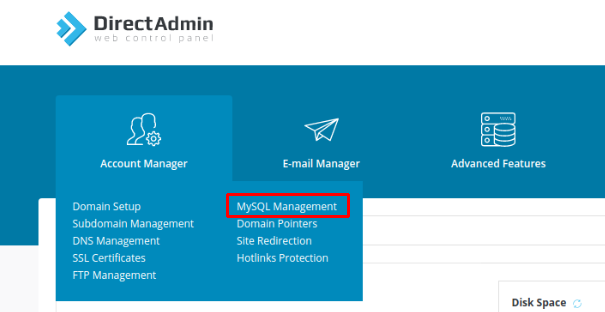
- Go to MySQL Management: Click on the “MySQL Management” link in the main dashboard.
- Add a New Database: Click the “Create New Database” button. You will be prompted to enter the following details:
- Database Name: Choose a descriptive name for your database.
- Database Username: Create a username that will have access to the database.
- Password: Set a strong password for the database user.
- Submit: After filling in the details, click the “Create” button. DirectAdmin will set up the new database and user, and you will see the new entry listed in the MySQL Management area.
Managing Existing Databases
- View Database Details: In the MySQL Management section, you’ll see a list of existing databases. Click on the database name to view details or perform management tasks.
- Edit Database Users: To modify database users or their permissions, find the “Database Users” section. You can:
- Edit User Permissions: Change the permissions of existing users.
- Delete Users: Remove users who no longer need access.
- Manage Database Tables: For more advanced management, you may need to use tools like phpMyAdmin, which is often accessible from the DirectAdmin interface. phpMyAdmin allows you to:
- Create and Delete Tables
- Import and Export Data
- Run SQL Queries
Backing Up and Restoring Databases
- Backup a Database:
- Go to MySQL Management: In the DirectAdmin interface, click on “Backup.”
- Choose Database: Select the database you wish to back up.
- Download Backup: Click the “Download” button to save the backup file to your local system.
- Restore a Database:
- Go to MySQL Management: Click on “Restore” or “Import.”
- Upload Backup File: Choose the backup file you want to restore and upload it.
- Confirm Restore: Follow the prompts to complete the restoration process.
Securing Your Databases
- Use Strong Passwords: Always create strong, unique passwords for your database users to prevent unauthorized access.
- Regular Backups: Schedule regular backups to ensure that you can recover your data in case of issues.
- Limit User Permissions: Grant the minimum permissions necessary for each user. Avoid giving administrative privileges unless absolutely required.
- Monitor Access Logs: Regularly check access logs for any unusual activity that could indicate a security breach.
Conclusion
Managing databases in DirectAdmin is a straightforward process once you’re familiar with the control panel’s interface. By following this guide, you can efficiently create, manage, and secure your databases, ensuring that your web applications run smoothly. Regular maintenance and backups will help keep your data safe and your databases performing optimally.